Here’s what I did, step by step, today on my first attempt to install Start9.
- I started on the homepage of their website, start9.com.
- In the upper right there is a link to “Docs“.
- On the Docs page choose “DIY” on the right most column and click on “Build your own.”
- I’m putting this on an old x86 PC that’s currently running Ubuntu and my Umbrel. I clicked on “DIY (x86_64)” where it says “View Guidelines”
- The guidelines page shows you the minimum and recommended hardware requirements. Down at the bottom of the page there is a link for “Flashing (x86_64)” and “View Guide”. I clicked on that.
- The “Flashing (x86_64) page is finally where you get to download some software. You’ll need a USB drive that is a minimum of 8 GB in size.
- There is a link near the top of the page to take you to the Start9 Labs Github repository for StartOS.
- There are two versions. A free and non-free. It’s not clear which one I need so I’m going with the free version for now. I can always start over if I need the other.
- The directions for Windows says to “Verify the checksum against the one listed on GitHub by opening a
cmdprompt “As Administrator” in the folder you saved the image to and running:” Then it gives you the command to type in. This doesn’t work in Windows. This seems like a Linux command to me. Skip this and go to the next step, flashing the USB drive. - You need software to flash the drive. Start9 wants you to download balenaEtcher. I already use Rufus to flash .iso files to USB drives. I’m choosing to use what I already have rather than downloading another application.
- My USB drive has the .iso file for Start9.
The instructions after that last step are not clear. Here’s what it says after inserting the USB drive into the PC where you intend to install. “Finally, continue to the Initial Setup, Manual Update, or Reset Password instructions – depending on your need.” None of these pages covers what to do if installing on your own box.
I inserted the USB drive into my PC and booted it. The first thing to happen is the PC fan starts running like it’s a jet engine trying to take off. That sucker is really humming along. The machine boots to a screen that gives you three choices.
- Live (amd64)
- Live (amd64 failsafe)
- Utilities

I chose the first item because, it’s first, but also because it makes the most sense. My machine is an Intel Core i7 with 8 cores. It’s not an AMD but I assume if it will run on one it will run on another.
This didn’t work. A bunch of text flies by as if things are starting to load and then a bunch of errors flash across the screen and the process gets aborted and seemingly starts over. It gets caught in this error boot loop. So I shut it down.
Don’t start this next part unless you have time.
Started over and chose the second item, Live (amd64 failsafe). This doesn’t get stuck in a boot loop. Things start loading. You get line after line of text showing what’s starting up and whether or not it started okay or not. This continues for about 5 minutes. The screen goes black with only
[ OK ] Stopped getty@ttyl.service – Getty on ttyl
[ OK ] Stopped getty@ttyl.service – Getty on ttyl
at the top of the screen. There is text that keeps flashing but it’s too fast for me to see what it is. It seems to be stuck in a loop again. I let it run for another several minutes and I hear a series of beeps. The screen continues in this odd loop and the fan keeps running at it’s highest speed.
In the directions I’m trying to follow I see the instructions for headless mode. It states to go to http://start.local in a web browser. I decide to try this in case the server is actually running.

It worked! I’m taken to a screen to select a disk. I will choose my 6 TB drive which shows as 5.5 TB on the screen. This disk has nothing on it and is safe to erase and move forward.

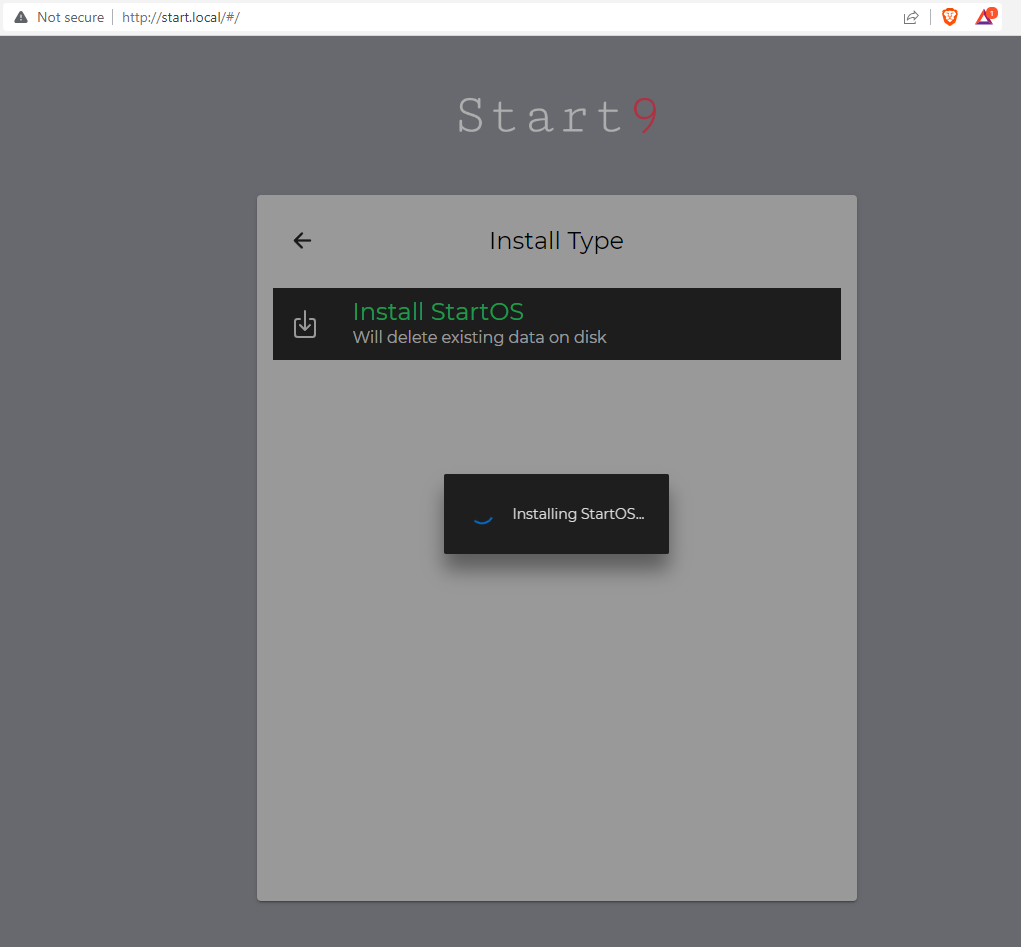
Next, it asks for install type. But only gives me one choice. To “Install StartOS – Will delete existing data on disk”. This is my intention anyway.

I get a warning telling me it will completely erase the disk. I choose to continue and a little animation says “Installing StartOS” with a little blue circle swirling around. The PC fan continues to blast away full power.
This process is starting to make me a little nervous about what’s happening to my PC. The little blue swirling circle has been swirling for 25 minutes so far. Nothing new has happened since the last step. I don’t know how much longer I feel comfortable letting this run because the fan is also still blowing full blast. Start9’s online documentation says “it may take up to 20 minutes to first initialize). I’m way beyond that now. It would be great if there was something letting me know where in the process I am.
I’m calling this a fail for the day. I’ve let it run for an hour and I’m still stuck on the same screen. Time to shut it down and start (pun intended) again tomorrow.


Leave a Reply